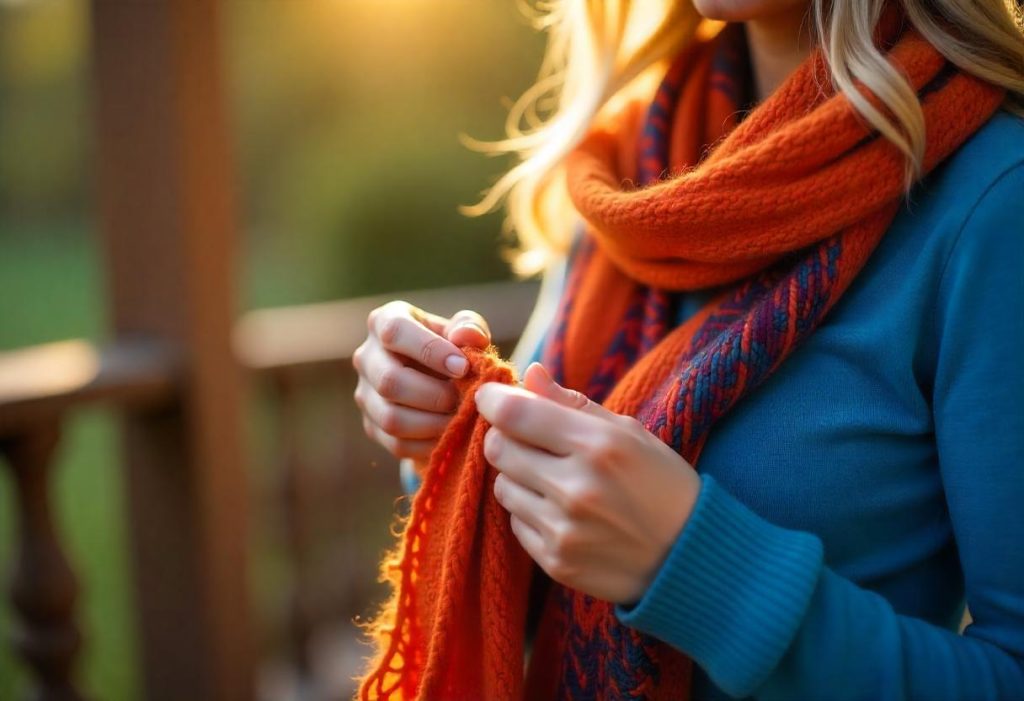
Knitting a scarf is one of the most timeless and beginner-friendly projects you can take on. Whether you’re brand new to knitting or looking for a relaxing pattern to ease into, a scarf is the perfect place to start. Not only is it functional, but it also allows you to learn and practice foundational techniques like casting on, knitting, purling, and binding off.
In this in-depth guide, we’ll walk you through how to knit a scarf step by step—from choosing the right materials and yarn to adding finishing touches. With clear explanations and tips for avoiding common pitfalls, you’ll be ready to wrap up in a cozy, handmade scarf in no time.
Contents
- Why Knitting a Scarf is a Great First Project
- Materials You’ll Need to Knit a Scarf
- Understanding Knitting Basics Before You Start
- Step-by-Step: How to Knit a Scarf
- Easy Scarf Patterns for Beginners
- Tips for Avoiding Common Knitting Mistakes
- How Long Does It Take to Knit a Scarf?
- Best Yarn Types for Scarves
- Scarves as Gifts: Personal Touches
- What to Knit After a Scarf
- Final Thoughts
Why Knitting a Scarf is a Great First Project
There are plenty of reasons scarves are ideal for beginners. First and foremost, they’re flat and rectangular, so you won’t have to worry about shaping or working in the round. You can also knit at your own pace, making scarves the ultimate low-stress learning tool.
Benefits of Starting with a Scarf
- No sizing or fit issues
- Great for practicing knit and purl stitches
- Quick wins help build confidence
- Easy to customize length, width, and texture
- Ideal gift project
Materials You’ll Need to Knit a Scarf
Before you start knitting, it’s important to gather the right materials. Having the correct tools will make the process easier and more enjoyable.
Yarn
Your yarn choice affects the texture, weight, warmth, and ease of knitting. For beginners, stick with a medium-weight yarn (also called worsted weight) in a light or bright color so it’s easier to see your stitches.
- Fiber: Wool or acrylic is ideal for beginner projects. Wool is warm and elastic, while acrylic is affordable and machine-washable.
- Color: Choose a solid or lightly variegated yarn. Busy patterns or dark colors can make it harder to see what you’re doing.
- Skein amount: For a standard scarf around 60-70 inches long, you’ll need about 300–400 yards of worsted-weight yarn.
Needles
- Size: For worsted-weight yarn, U.S. size 8 (5 mm) or 9 (5.5 mm) knitting needles are a great starting point.
- Material: Wooden or bamboo needles grip yarn slightly better than metal, helping beginners maintain control.
Other Supplies
- Scissors
- Yarn needle (for weaving in ends)
- Stitch markers (optional)
- Tape measure or ruler
- Row counter or notebook
Understanding Knitting Basics Before You Start
If you’ve never knit before, it helps to understand some fundamental techniques. Scarves typically use basic stitches like knit and purl, but the combinations are endless.
Basic Knitting Stitches
- Knit Stitch (K): This is the most fundamental stitch. It produces a smooth “V” shaped pattern and is used in many beginner scarf patterns.
- Purl Stitch (P): The purl stitch is essentially the reverse of a knit stitch and creates a bumpy texture. Alternating knit and purl stitches adds dimension and texture.
- Garter Stitch: Knit every row for a stretchy, ridged pattern.
- Stockinette Stitch: Alternate rows of knit and purl. This creates a flat, smooth front and a bumpy back.
- Ribbing: Created by alternating knit and purl stitches in the same row (e.g., K2, P2) for a stretchy, decorative edge.
Step-by-Step: How to Knit a Scarf
Step 1: Choose a Scarf Pattern or Design
You don’t necessarily need a formal pattern for your first scarf, but it helps to decide on your stitch pattern, width, and length before casting on.
- Basic Garter Stitch Scarf: Knit every row. Great for complete beginners.
- Ribbed Scarf: Knit and purl in a repeated pattern.
- Stockinette Scarf: Alternate knit and purl rows; be aware the edges may curl.
- Textured Scarf: Use a combination of knit and purl for visual interest.
Step 2: Cast On Stitches
Casting on creates the foundation row of stitches that you’ll knit into. There are several cast-on methods, but the long-tail cast-on is both flexible and neat.
- Determine Width: For a worsted-weight scarf, cast on about 30–40 stitches for a medium width (around 6–8 inches).
- Create a Slip Knot: This is your first stitch.
- Cast On: Use the long-tail method to cast on the number of stitches you need.
Step 3: Begin Knitting Rows
Once your stitches are cast on, it’s time to knit the body of your scarf.
- Hold your needles properly: One in each hand with the working yarn behind.
- Insert the right needle into the first stitch on the left needle.
- Wrap the yarn around the right needle and pull it through to make a new stitch.
- Slide the old stitch off the left needle.
Repeat this process across each row.
Step 4: Continue Until Desired Length
A standard scarf is about 60 inches (150 cm) long, but you can go longer or shorter based on preference.
- Measure frequently to track progress.
- Keep rows even by counting rows or using stitch markers every 10–20 rows.
- Take breaks to avoid hand fatigue and mistakes.
Step 5: Bind Off
When your scarf is long enough, it’s time to bind off (also called casting off) to secure the stitches.
- Knit two stitches
- Use the left needle to lift the first stitch over the second and off the needle
- Knit another stitch and repeat
- Continue until one stitch remains, cut the yarn, and pull it through
Step 6: Weave in Loose Ends
Use a yarn needle to weave in the starting and ending yarn tails so they’re hidden and secure.
- Thread the needle
- Run the yarn through several stitches along the edge or back of the scarf
- Trim any excess yarn
Step 7: Blocking Your Scarf
Blocking helps even out stitches and shape your scarf. Not all yarns require blocking, but it enhances the final look.
- Wet Blocking: Soak the scarf in lukewarm water, gently squeeze out excess, and pin flat to dry.
- Steam Blocking: Use a steam iron, hovering above the fabric (not touching), to lightly steam it into shape.
Easy Scarf Patterns for Beginners
Here are a few simple pattern ideas you can try without needing a formal pattern.
Garter Stitch Scarf
- Cast on 35 stitches
- Knit every row
- Continue until desired length
- Bind off and weave in ends
Ribbed Scarf
- Cast on a multiple of 4 stitches (e.g., 40)
- Row 1: K2, P2 repeat to end
- Repeat Row 1 for the entire scarf
Seed Stitch Scarf
- Cast on an odd number of stitches (e.g., 31)
- Row 1: K1, P1 repeat to end, end with K1
- Repeat every row for a bumpy, textured finish
Tips for Avoiding Common Knitting Mistakes
Uneven Edges
This happens when the first or last stitch of a row is pulled too tight or too loose. Use a stitch marker to remind yourself to knit these stitches evenly.
Dropped Stitches
If a stitch slips off your needle, use a crochet hook or knitting needle to pull it back up. Practice fixing mistakes with a swatch.
Twisted Stitches
Make sure your stitches sit properly on the needle—flat and not crossed. Take your time and double-check your work.
How Long Does It Take to Knit a Scarf?
Time varies based on experience, pattern complexity, and available free time. Here’s a general breakdown:
- Beginner scarf: 6–10 hours total
- Intermediate pattern: 10–15 hours
- Advanced textured or colorwork scarf: 15–25 hours
Knitting for just 30–60 minutes a day adds up quickly.
Best Yarn Types for Scarves
Wool
- Warm, breathable, and elastic
- Great for winter scarves
- Natural fiber
Acrylic
- Budget-friendly
- Machine-washable
- Good for gifting
Cotton
- Cool and breathable
- Better for spring/summer scarves
- Less stretchy than wool
Scarves as Gifts: Personal Touches
A handmade scarf makes a heartfelt gift. Add custom touches to make it extra special:
- Choose the recipient’s favorite color
- Add fringe or tassels
- Use luxury yarn (like alpaca or cashmere)
- Include a handwritten note with care instructions
What to Knit After a Scarf
Once you finish your first scarf, your confidence will skyrocket—and so will your curiosity! Consider these next steps:
- Hats (using circular needles)
- Fingerless gloves
- Simple baby blankets
- Dishcloths or washcloths
- Learning cables or lace patterns
Each new project builds on your existing skills.
Final Thoughts
Knitting a scarf is more than just learning a new hobby—it’s a creative act that brings joy, calm, and pride. With a bit of patience and practice, anyone can knit a beautiful, functional scarf, even with zero experience. You don’t need fancy tools or expensive yarn—just your hands, some needles, and a bit of yarn magic.
So grab your materials, find a cozy corner, and start knitting. Whether you’re creating a classic garter stitch scarf or experimenting with new textures and colors, the journey is just as rewarding as the finished piece.