Sewing a skirt is one of the best beginner sewing projects. It’s stylish, simple, and offers a lot of room for customization. Whether you’re dreaming of a flowing maxi skirt, a casual A-line, or a chic pencil design, making your own skirt allows you to control the fit, fabric, and finish from start to finish.
This in-depth tutorial will walk you through the entire process—selecting fabric and patterns, taking measurements, cutting, sewing, and finishing techniques—so you can confidently sew your first skirt and many more after that.
Contents
- Why Learn to Sew a Skirt?
- Tools and Materials You’ll Need
- Choosing the Right Skirt Style
- How to Take Accurate Measurements
- Preparing the Fabric
- How to Cut the Skirt Pattern
- Step-by-Step Instructions to Sew a Basic Skirt
- How to Sew an A-Line Skirt (With or Without a Zipper)
- Adding Design Details
- Best Fabrics for Different Skirt Styles
- Common Skirt Sewing Mistakes and Fixes
- Washing and Caring for Your Handmade Skirt
- Conclusion: Start Sewing Skirts Today
Why Learn to Sew a Skirt?
There’s a reason skirts are often one of the first garments new sewists tackle. They’re flattering, forgiving, and versatile for every season and occasion.
Easy to Fit
Unlike pants or fitted tops, skirts are less complicated in terms of fitting. With fewer curves to account for, they’re easier to customize for your body.
Fast Project
Skirts can be quick to sew, especially if you’re making an elastic waistband or gathered skirt. Some projects take only a couple of hours.
Customizable Style
Add pockets, tiers, buttons, or ruffles. Once you’ve sewn one basic skirt, it’s easy to evolve your designs.
Great Introduction to Sewing Techniques
You’ll practice measuring, cutting, hemming, and possibly adding a zipper or waistband—essential skills for any garment maker.
Tools and Materials You’ll Need
Start with a well-equipped sewing space. Here’s what you’ll need to make most skirt patterns.
Fabric
Pick a beginner-friendly fabric. Cotton poplin, chambray, linen, and quilting cotton are all easy to work with. Avoid slippery or stretchy fabrics for your first skirt.
Matching Thread
Use all-purpose polyester thread for durability and compatibility with most fabrics.
Sewing Machine
Even a basic model will work. Make sure it has a straight stitch and backstitch function.
Measuring Tape
Essential for measuring your waist, hips, and desired skirt length.
Scissors or Rotary Cutter
Sharp shears or a rotary cutter for precise cutting.
Pins or Fabric Clips
Use pins to hold pattern pieces together or clips if your fabric is thick or delicate.
Iron and Ironing Board
You’ll press seams, hems, and waistbands throughout the process for a clean finish.
Pattern
You can use a store-bought skirt pattern, find a free one online, or draft your own (especially for basic elastic skirts).
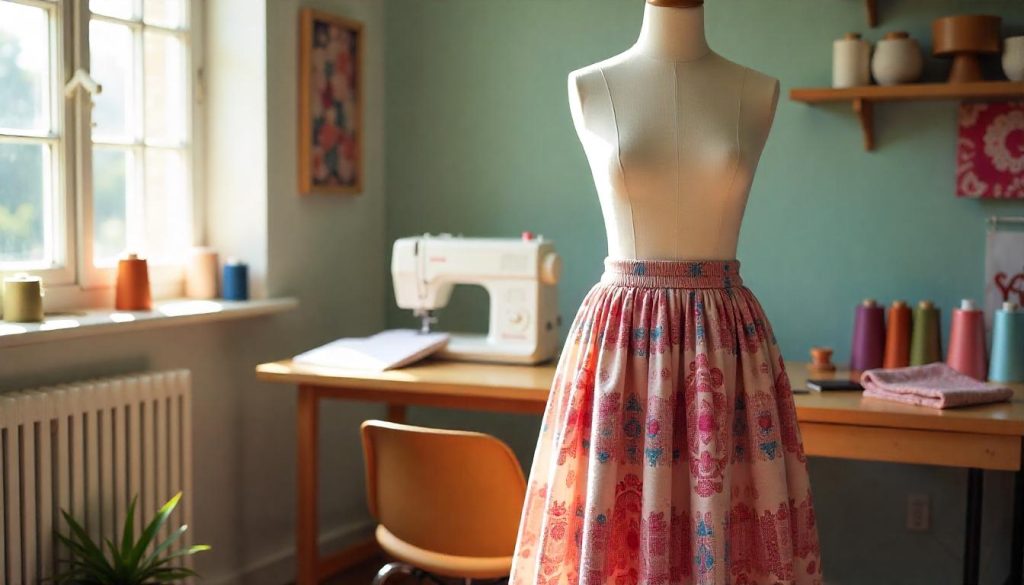
Choosing the Right Skirt Style
Your first skirt should be easy to sew and forgiving in fit. Here are beginner-friendly types to consider.
Elastic Waist Skirt
A classic first project. It requires only a rectangle of fabric, some elastic, and basic stitches. Ideal for casual or lounge wear.
A-Line Skirt
Shaped like a capital A, this skirt flares slightly at the bottom. It flatters most body types and can have either an elastic or fitted waistband.
Circle Skirt
This full, swishy style looks impressive but is simple to make with a circular pattern. You can draft it yourself with math or use a downloadable template.
Gathered Skirt
This type gathers fabric at the waist for a fuller look. You can add a waistband or use elastic for ease.
Pencil Skirt
A straight or tapered design that fits closer to the body. Slightly more advanced as it may include darts or zippers.
How to Take Accurate Measurements
Getting your measurements right is essential for a comfortable, well-fitting skirt.
Waist
Measure around the narrowest part of your torso. Keep the tape snug but not tight.
Hips
Measure the fullest part of your hips and buttocks, usually 7–9 inches below your waist.
Desired Skirt Length
Measure from your waist to where you want the hem to fall (knee, midi, or ankle length).
Preparing the Fabric
Prepping your fabric ensures it behaves well during sewing and after laundering.
Prewash and Press
Wash and dry your fabric according to care instructions. This prevents shrinkage later. Iron flat to remove wrinkles.
Fold and Lay Out
Fold the fabric according to your pattern instructions—typically right sides together. Use a clean, large surface for cutting.
How to Cut the Skirt Pattern
This will vary depending on the skirt style and whether you’re using a commercial pattern or drafting your own.
Use Pattern or Measurements
Pin your paper pattern pieces or use your own measurements (e.g., two rectangles for a gathered skirt). Add seam allowances and hem allowances as needed.
Mark Notches and Seam Lines
Use chalk or a washable marker to transfer notches, darts, or fold lines to your fabric.
Cut Carefully
Cut slowly and precisely along pattern lines, especially on curves. Cut waistbands or elastic casings separately if needed.
Step-by-Step Instructions to Sew a Basic Skirt
Let’s go through the sewing process using a beginner-friendly gathered or elastic waistband skirt.
Step 1: Sew the Side Seams
Take the front and back skirt panels (or one long piece, folded) and pin right sides together at the side seams. Sew using a straight stitch and finish raw edges with a zigzag or serger.
Step 2: Prepare the Waistband Casing
At the top edge of the skirt, fold the fabric over 1/4 inch and press. Then fold over again to the width of your elastic plus 1/2 inch. Pin and sew close to the lower fold, leaving a 2-inch gap.
Step 3: Insert the Elastic
Cut elastic to fit snugly around your waist, with a little stretch. Attach a safety pin and thread it through the casing. Make sure it doesn’t twist inside.
Step 4: Join the Elastic Ends
Once both ends emerge, overlap them by about 1 inch and stitch securely. Pull the waistband to distribute the gathers evenly.
Step 5: Close the Casing
Stitch the gap closed, backstitching at both ends.
Step 6: Hem the Skirt
Try the skirt on and mark your preferred length. Fold the bottom edge under 1/2 inch and press. Fold again 1 inch, pin, and sew along the edge for a clean hem.
How to Sew an A-Line Skirt (With or Without a Zipper)
An A-line skirt fits at the waist and flares gently. It’s slightly more fitted than a gathered or elastic style.
Drafting or Cutting the A-Line Shape
Use a commercial pattern or draw two trapezoids that match your waist and hip measurements, flaring out slightly to the hem.
Adding Darts (Optional)
To shape the waist, sew darts at the front or back. Mark with chalk, pin, and stitch from the wide end to the point.
Adding a Zipper
Use an invisible or centered zipper at the back or side seam.
- Sew one side seam first.
- Pin and sew the zipper in place using a zipper foot.
- Finish the other side seam.
Sew the Waistband
Cut a waistband that matches your waist plus seam allowance. Interface it for stability. Sew to the top of the skirt, right sides together. Fold over, turn under the inner edge, and stitch in place.
Adding Design Details
Once you’re comfortable with the basics, you can customize your skirt further with embellishments and design tweaks.
Pockets
Add patch or in-seam pockets for both function and fashion.
Tiers
Sew horizontal fabric panels, gathering each one slightly for a boho-tiered look.
Buttons
Front button closures are easy to add and make your skirt stand out. Be sure to use interfacing and a buttonhole foot.
Ruffles or Lace
Sew decorative trims to the hem or waistband for a more feminine aesthetic.
Best Fabrics for Different Skirt Styles
Your skirt’s drape and comfort depend heavily on the fabric you choose.
Cotton Poplin or Lawn
Great for A-line, gathered, or elastic skirts. Crisp, breathable, and easy to sew.
Linen or Linen Blends
Perfect for summer skirts with a soft but structured drape.
Rayon or Viscose
Flowy and lightweight, excellent for maxi or circle skirts. Can be slippery—pin generously.
Denim or Twill
Structured fabrics ideal for A-line or pencil skirts. May need a zipper or darts.
Knit Jersey
Used for stretch skirts like yoga skirts. Requires stretch stitches and a ballpoint needle.
Common Skirt Sewing Mistakes and Fixes
Learning comes with challenges. Here are a few common issues and how to avoid them.
Uneven Hem
Always mark and press your hem carefully. Try the skirt on and adjust the hemline on a dress form or hanger.
Twisted Elastic
Use a safety pin to guide elastic and go slowly. Check periodically that it’s not twisting.
Gaping Waistband
Measure carefully and adjust darts or elastic if the waistband is too loose.
Puckering Seams
Use the correct needle size and tension for your fabric type.
Washing and Caring for Your Handmade Skirt
Extend the life of your handmade garments by caring for them properly.
Washing
Use a gentle cycle and cold water, especially for cottons and linens.
Drying
Air drying preserves elastic and prevents shrinking. Iron as needed.
Storage
Hang structured skirts and fold flowy ones to prevent distortion.
Conclusion: Start Sewing Skirts Today
Sewing your own skirt is a rewarding, confidence-boosting experience. From elastic-waist basics to flared A-lines and elegant circle skirts, each project helps you grow your sewing skills while creating something truly wearable.
Now that you know how to sew a skirt from start to finish, gather your materials, pick your favorite pattern, and start stitching. With each skirt you make, you’ll gain more experience—and soon your wardrobe will be full of beautiful, handmade pieces.