Sewing a dress is one of the most rewarding projects you can tackle as a sewing enthusiast. Whether you’re creating your first simple sundress or designing a more advanced garment with linings and zippers, the process allows you to express personal style while developing valuable skills. Learning how to sew a dress combines creativity with technique, and with practice, you can produce pieces that fit perfectly and reflect your unique taste.
This comprehensive guide covers everything you need to know about sewing a dress, from choosing fabrics and tools to step-by-step instructions for construction. Whether you’re a complete beginner or someone looking to refine their sewing techniques, you’ll find tips and methods to guide you through the process.
Contents
- Understanding the Basics of Dressmaking
- Essential Tools and Materials for Sewing a Dress
- Choosing the Right Dress Pattern
- Preparing to Sew a Dress
- Step-by-Step Guide: How to Sew a Dress
- Techniques for Different Dress Styles
- Adding Design Details
- Fitting Your Dress
- Troubleshooting Common Issues
- Caring for Your Handmade Dress
- Creative Ideas for Your Next Dress
- Practicing and Improving Your Sewing Skills
- Final Words
Understanding the Basics of Dressmaking
Why learn to sew a dress?
- Personalization: Create garments that fit your body perfectly.
- Creativity: Choose your fabrics, colors, and design details.
- Sustainability: Reduce waste and produce long-lasting pieces.
- Cost-effectiveness: Sewing at home can be more affordable than buying custom-made dresses.
Skill levels for dress sewing
- Beginner: Simple shift or A-line dresses with minimal shaping.
- Intermediate: Dresses with darts, zippers, or gathers.
- Advanced: Fully lined dresses, fitted bodices, or formal gowns.
Essential Tools and Materials for Sewing a Dress
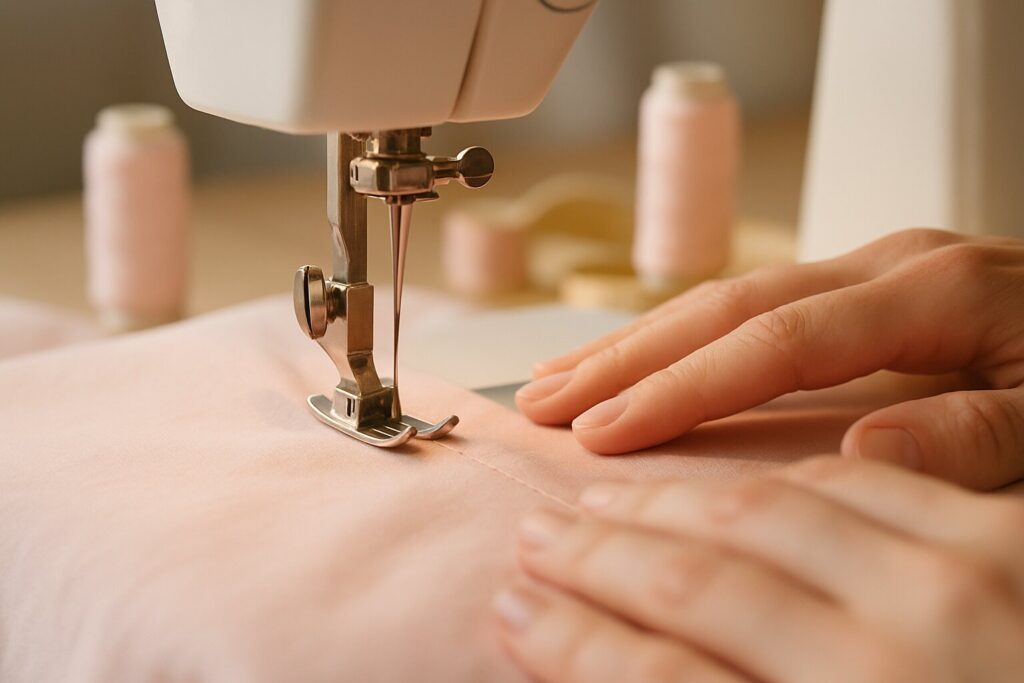
Sewing machine
A basic machine with straight and zigzag stitches is sufficient for beginners. More advanced machines offer features like buttonhole functions and decorative stitches.
Hand sewing tools
- Needles for finishing touches or delicate fabrics.
- Pins or clips for holding pieces together.
- Seam ripper for correcting mistakes.
Measuring tools
A flexible measuring tape and clear ruler help ensure accuracy for cutting and fitting.
Fabric choices
- Cotton for breathable, easy-to-handle garments.
- Linen for a natural, structured look.
- Rayon or silk for fluid drape.
- Knit fabrics for stretchy, comfortable dresses.
Patterns
Dress patterns provide templates for cutting fabric. Choose patterns designed for your skill level.
Other supplies
- Matching thread.
- Interfacing for stability.
- Zippers, buttons, or elastic depending on your design.
Choosing the Right Dress Pattern
Types of patterns
- Printed patterns: Pre-sized templates with instructions.
- Digital patterns: Downloadable files you print at home.
- Self-drafted patterns: Created using your own measurements.
Factors to consider
- Complexity: Start with patterns labeled “easy” if you’re new.
- Style: Decide on silhouette — A-line, sheath, wrap, or fit-and-flare.
- Fabric recommendations: Patterns suggest ideal fabrics for best results.
Preparing to Sew a Dress
Step 1: Take accurate measurements
Key areas include bust, waist, hips, and desired dress length. Write these down to compare with pattern sizing.
Step 2: Pre-wash fabric
Washing fabric before cutting prevents shrinkage and helps soften the material.
Step 3: Cut pattern pieces
Pin your pattern to the fabric, following grain lines, and cut carefully using sharp fabric scissors.
Step 4: Mark important points
Transfer darts, notches, and other markings from the pattern to the fabric using tailor’s chalk or washable markers.
Step-by-Step Guide: How to Sew a Dress
Step 1: Assemble the bodice
- Sew darts or pleats for shaping.
- Join front and back bodice pieces at the shoulder seams.
- Finish edges using zigzag stitches or a serger to prevent fraying.
Step 2: Attach sleeves or finish armholes
For sleeveless dresses, create clean edges using bias tape. For sleeved designs, sew sleeves into the armholes after attaching the bodice.
Step 3: Construct the skirt
- Sew side seams of the skirt panels.
- Add gathers or pleats if your pattern includes them.
- Attach the skirt to the bodice, ensuring seams align.
Step 4: Install closures
- Zippers: Use an invisible or centered zipper depending on style.
- Buttons: Create buttonholes with your machine or by hand.
- Elastic: Insert into casings for casual, easy-to-wear dresses.
Step 5: Finish the neckline
Facings or bias tape provide a polished look. Press carefully to keep edges crisp.
Step 6: Hem the dress
Turn under the raw edge, press, and sew using a straight stitch. For a professional finish, consider blind hems or rolled hems for delicate fabrics.
Techniques for Different Dress Styles
Sewing a simple shift dress
Perfect for beginners, this dress has no darts or complicated shaping. Use lightweight cotton for a breezy summer option.
Making a wrap dress
Focus on precise ties and neckline finishes to prevent gaping. Knit fabrics work especially well for wrap dresses.
Constructing a fit-and-flare dress
Create a fitted bodice with darts, then attach a flared skirt. This style requires more precise fitting but produces a flattering silhouette.
Sewing a formal gown
Use luxurious fabrics like satin or chiffon. Add linings and supportive elements like boning for structure.
Adding Design Details
Decorative elements
- Ruffles for a playful touch.
- Lace overlays for elegance.
- Pockets for practicality.
Embellishments
Embroidery, beading, or fabric appliqué can make your dress truly unique.
Creative hems
Experiment with asymmetrical or high-low hems for added visual interest.
Fitting Your Dress
Try-on sessions
Regularly try the dress on during construction. Adjust seams as needed for comfort and appearance.
Common adjustments
- Taking in the sides for a closer fit.
- Shortening or lengthening the hemline.
- Adjusting darts for bust shaping.
Troubleshooting Common Issues
Puckered seams
Check thread tension and press seams flat after sewing.
Uneven hems
Use a measuring guide or enlist a helper to mark an even hemline.
Gaping necklines
Add darts or adjust the pattern for better contouring.
Broken stitches
Reinforce seams in stress areas like zippers and waistlines.
Caring for Your Handmade Dress
Washing instructions
Follow fabric care recommendations to preserve color and shape.
Storing
Hang dresses with padded hangers or fold gently to avoid stretching.
Repairs
Keep leftover fabric scraps to patch or reinforce areas over time.
Creative Ideas for Your Next Dress
Upcycling old fabrics
Turn vintage sheets, scarves, or curtains into unique dresses.
Mixing fabrics
Combine patterns or textures for contrast, like pairing denim with chiffon.
Seasonal dresses
Make cozy knit dresses for winter or light linen styles for summer.
Practicing and Improving Your Sewing Skills
Start small
Make doll dresses or simple tops before tackling full-length gowns.
Keep a sewing journal
Track techniques you’ve learned and adjustments you’ve made for future reference.
Experiment with patterns
Modify sleeve styles, necklines, or skirt shapes to expand your creativity.
Final Words
Learning how to sew a dress is a journey that blends technical skill with artistic expression. With patience and practice, you can create dresses that reflect your personality and fit your body perfectly. Start with simple projects, refine your techniques, and gradually explore more complex designs.
Every dress you sew is a step toward mastering the craft. Gather your tools, choose a fabric you love, and begin your next sewing adventure — one stitch at a time.