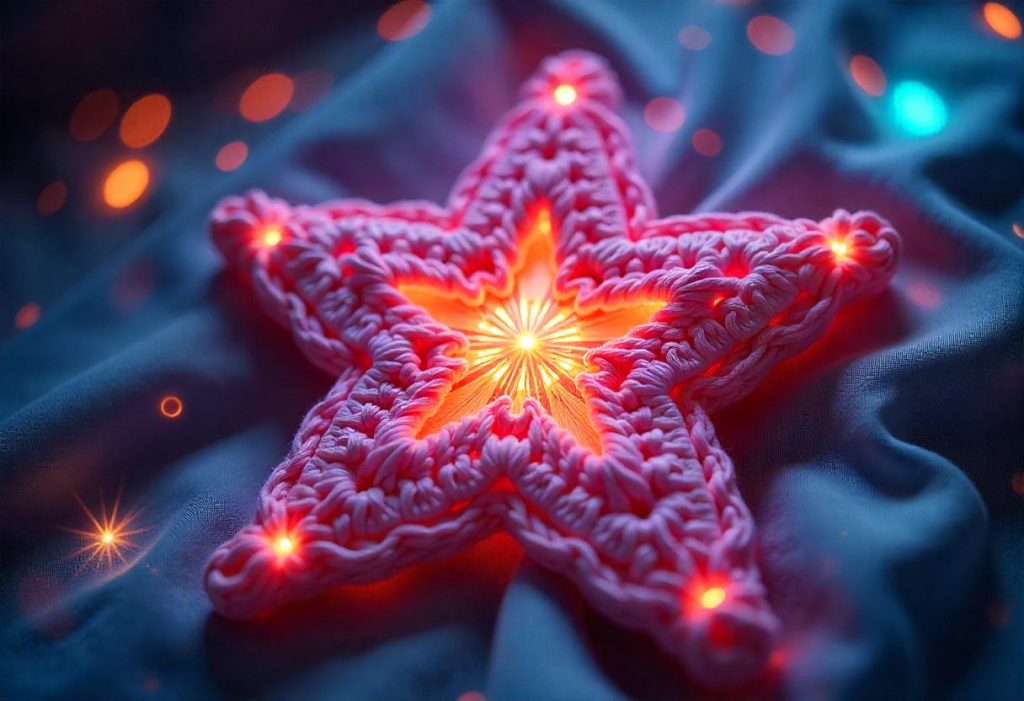
Crocheting a star is one of those joyful little projects that can add a touch of handmade magic to your life. Whether you’re making festive decorations, colorful garlands, or playful appliqués for clothes or accessories, crochet stars are both fun to make and endlessly versatile.
In this complete guide, you’ll learn how to crochet stars from beginner-friendly patterns to more intricate designs. We’ll walk through different styles, sizes, and uses for crochet stars, along with pro tips, customization ideas, and answers to common questions. Ready to stitch your way to the stars? Let’s get started.
Contents
- Why Crochet a Star?
- What You’ll Need to Crochet a Star
- Basic Crochet Stitches Used in Star Patterns
- How to Crochet a Simple Five-Pointed Star
- How to Crochet a Puffy or 3D Star
- Making Mini Crochet Stars
- Making a Large Decorative Star
- How to Add a Border to Your Star
- How to Customize Your Crochet Star
- Creative Ways to Use Crochet Stars
- Troubleshooting Common Star Crochet Issues
- How to Block Your Crochet Star
- Advanced Star Patterns to Try
- Final Thoughts: Crochet Stars That Shine
Why Crochet a Star?
Crochet stars aren’t just pretty—they’re also incredibly useful. Their compact size and flexible design make them perfect for decorations, fashion, home décor, and gift-giving.
Benefits of Crocheting Stars
- Quick and easy project—great for beginners
- Uses up leftover yarn scraps
- Perfect for seasonal decorations (Christmas, 4th of July, New Year’s)
- Fun to personalize with colors and textures
- Works for both flat appliqués and 3D items
Stars can symbolize celebration, hope, goals, holidays, or even magic. It’s no wonder they’re a favorite motif among crocheters of all skill levels.
What You’ll Need to Crochet a Star
Before you dive into your first star pattern, gather the following materials. You probably already have most of them on hand.
Yarn
Worsted weight (medium #4) yarn is perfect for beginners. It’s easy to see your stitches and works up quickly. However, you can make stars with any yarn weight, from chunky yarns to fine crochet thread.
If you want your stars to hang (on a tree, for example), lightweight cotton yarn works best for clean edges and good structure.
Crochet Hook
Use a hook size that matches your yarn. For worsted yarn, a 5.0 mm (H-8) hook is standard. For tighter or stiffer stars, drop down a size. For fluffier, looser stars, go up a size.
Tapestry Needle
Use a yarn needle to weave in the ends or sew your star onto another project.
Scissors
Any sharp pair of scissors will do for trimming your yarn tails neatly.
Basic Crochet Stitches Used in Star Patterns
Most crochet star patterns rely on a few simple stitches. Here’s what you should know before you begin.
Chain (ch)
The chain stitch is the foundation of most crochet projects. You’ll use this to start your star and shape its points.
Slip Stitch (sl st)
This short stitch joins rounds, closes loops, and moves your yarn without adding height.
Single Crochet (sc)
A small, tight stitch that gives form and firmness to your crochet.
Half Double Crochet (hdc)
A medium-sized stitch that’s useful for shaping rounded points.
Double Crochet (dc)
Adds height and stretch to your stitches, commonly used in the arms or peaks of the star.
Treble Crochet (tr)
Even taller than dc, used for dramatic star tips or exaggerated designs.
If you’re not familiar with these stitches yet, spend a few minutes practicing each before you begin.
How to Crochet a Simple Five-Pointed Star
Let’s begin with a classic and beginner-friendly design: the five-pointed star. This pattern is worked in two quick rounds and is ideal for ornaments, garlands, or appliqués.
Five-Pointed Star Pattern (Beginner)
- Start with a magic ring (or ch 4 and slip stitch to form a ring).
- Into the ring, ch 1, then work 10 sc. Join to first sc with a sl st.
- Now begin the points of the star:
- Ch 5
- In the 2nd ch from the hook, work 1 sc
- In the next ch: 1 hdc
- In the next: 1 dc
- In the last ch: 1 tr
- Skip one sc in the round, sl st into the next
- Repeat this process 4 more times to complete five points.
- Join, fasten off, and weave in ends.
This gives you a clean, flat, five-pointed star with crisp edges and a neat center.
How to Crochet a Puffy or 3D Star
Want your star to pop? A puffy or 3D star is the perfect solution. These are made from two identical star panels sewn together and lightly stuffed.
Puffy Star Pattern
Make 2 star shapes using the pattern above. Then:
- Place both stars with wrong sides facing each other.
- Join yarn at one tip and begin single crocheting around the edge through both layers.
- When you’re halfway through, pause to add a small amount of fiberfill or scrap yarn as stuffing.
- Continue around the star, join with a slip stitch, and fasten off.
Now you have a soft, squishy star that’s perfect for ornaments, toys, mobiles, and more.
Making Mini Crochet Stars
Mini stars are excellent for gift tags, confetti, earrings, or even planner decorations. Here’s a quick pattern you can whip up in just a couple of minutes.
Tiny Star Pattern
- Start with a magic ring.
- [Ch 2, tr, ch 2, sl st into ring] — repeat this sequence 5 times.
- Tighten the ring and fasten off.
This star is roughly the size of a quarter when made with worsted yarn.
Making a Large Decorative Star
Need a big bold star for wall art or a baby mobile? This pattern builds out from the center to create a large five-point star with rounded edges.
Large Star Pattern
- Chain 5, join into a ring.
- Ch 3 (counts as dc), work 2 dc into the ring, ch 2, 3 dc — repeat 4 more times for a total of 5 clusters.
- Join with sl st and begin building out each point:
- Ch 5
- Sc in 2nd ch from hook, hdc, dc, tr
- Sl st into the ch-2 space of next cluster
- Repeat around to complete 5 star points.
This star is roughly 4–6 inches wide depending on yarn weight and hook size.
How to Add a Border to Your Star
If you want to define the edges or make your star stand out, adding a border is a great way to do it.
Border Instructions
- Join contrasting color yarn to any tip of the star.
- Work single crochets evenly around the edge.
- Add two single crochets in each point to keep corners sharp.
- Sl st to join and fasten off.
You can also use crab stitch (reverse single crochet) for a more decorative edge.
How to Customize Your Crochet Star
Crochet stars are a blank canvas for creativity. Here are some fun ways to make yours unique.
Color Combinations
- Use variegated yarn for a galaxy look.
- Change colors at the points vs. the center.
- Add a second round in a contrasting color for a layered effect.
Embellishments
- Add beads or sequins.
- Embroider initials or symbols in the center.
- Attach a pom-pom or tassel to one point.
Yarn Types
- Use glitter yarn for holiday stars.
- Go soft and fuzzy with velvet yarn.
- Try eco-friendly yarns for sustainability.
Creative Ways to Use Crochet Stars
Once your stars are made, here are dozens of ways to put them to good use.
Holiday Décor
- Christmas tree ornaments
- Garland for windows, mantels, or doorways
- Star-shaped coasters or placemats
- Advent calendar pouches
Gifts and Accessories
- Keychains or zipper pulls
- Add to gift wrapping as tags
- Turn into bookmarks with tassels
- Sew onto hats, bags, or blankets
Home and Nursery
- Baby mobile with hanging stars
- Star-shaped pillows (using 3D patterns)
- Wall hangings and bunting
- Decorative table scatter
Crochet stars are one of the most versatile shapes you can create—and they always look impressive.
Troubleshooting Common Star Crochet Issues
Uneven Points
This usually results from inconsistent tension or incorrect stitch counts. Double-check that each point uses the same stitch sequence.
Curling or Ruffling
Flat stars should lie smooth. If yours curls, you may be using a hook that’s too small or working too tightly. Try blocking your star or switching to a larger hook.
Gaps in Center
If you used a chain ring, switch to a magic circle for a tighter center. Or, add more stitches into the ring to fill in the space.
How to Block Your Crochet Star
Blocking is the best way to ensure your stars look symmetrical and professional.
How to Block a Star
- Wet your star lightly or steam it with an iron (without touching the yarn).
- Pin each point down to shape it evenly.
- Let it dry completely.
Blocking works especially well for stars made of cotton or natural fibers.
Advanced Star Patterns to Try
Once you’ve mastered the basics, here are some more creative star patterns you can try:
Six-Pointed Snowflake Star
Works well for winter or holiday decorations with a more intricate appearance.
Star Granny Square
Start with a star and expand it into a square for use in blankets or bags.
Layered Starburst
Stack two or more star layers and alternate colors for dimension.
Lace Star Motif
Delicate and airy, perfect for bunting or dreamcatchers.
Each of these patterns offers a unique twist and can be made with just a few variations in your stitch techniques.
Final Thoughts: Crochet Stars That Shine
Crocheting stars is a beautiful, fun, and relaxing way to create with your hands. Whether you’re a beginner or an experienced crocheter, these little shapes offer endless options for creativity and customization.
Start with a simple five-pointed star and explore different sizes, yarns, and embellishments. Then branch out into 3D, lacy, or oversized patterns to suit any project or season. The beauty of crochet stars is that they always feel joyful—and they make wonderful gifts that are “handmade with love.”
So grab your hook, pick your favorite yarn, and start creating stars that shine bright in your handmade world.